How to Build a Professional Freelance Client Onboarding System
A great project outcome starts before you write a single line of code or design a single screen. Your onboarding system determines whether a new client relationship begins with clarity or chaos.
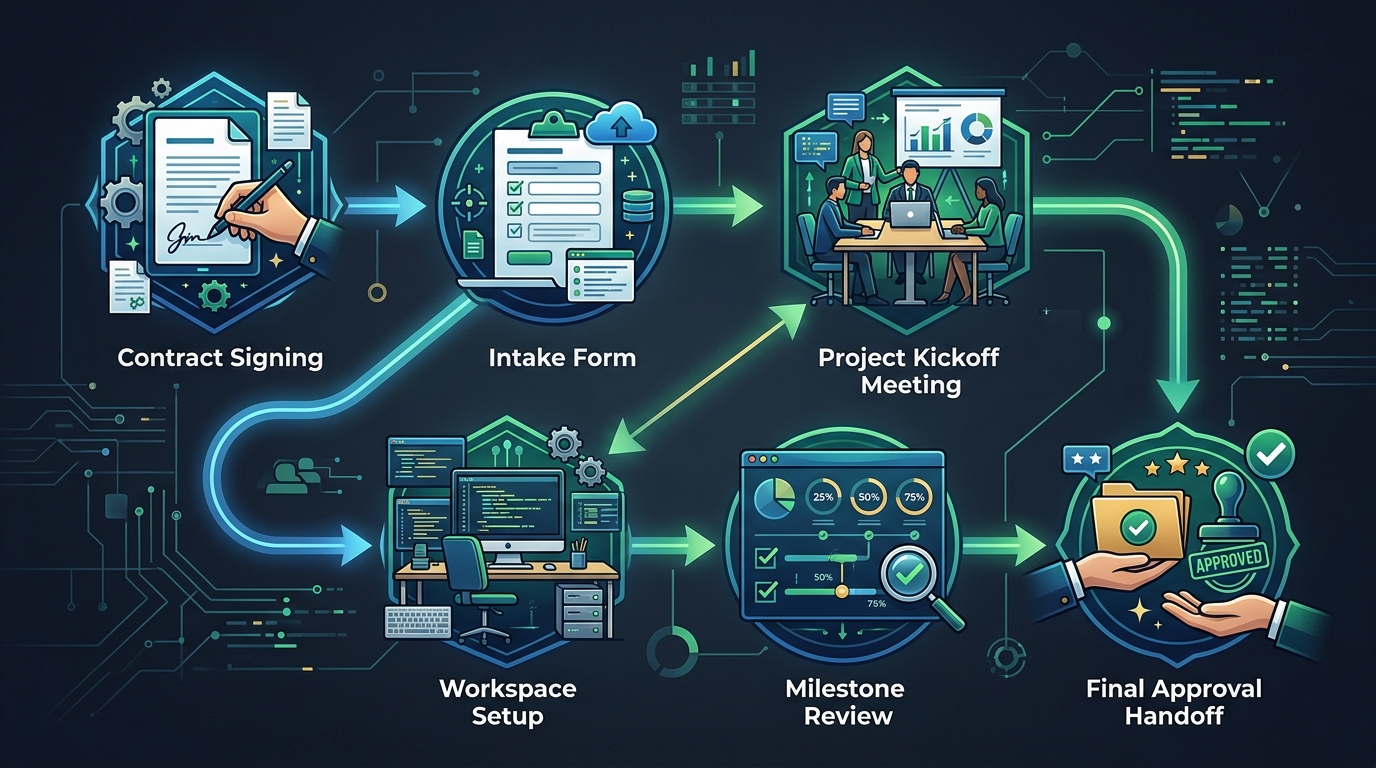
TABLE OF CONTENTS (13 SECTIONS)TAP TO EXPAND
- Why Most Projects Fail Before They Start
- The Complete Freelance Onboarding Workflow
- Stage 1: Contract Signed and Deposit Collected
- Stage 2: The Welcome Sequence
- Stage 3: The Client Intake Form
- Stage 4: The Project Brief
- Stage 5: Asset and Access Collection
- Stage 6: Scope Confirmation and Milestone Setup
- Stage 7: The Kickoff Meeting
- Stage 8: Project Workspace Activation
- Common Onboarding Mistakes
- The Minimum Viable Onboarding System
- Implementation Checklist
Why Most Projects Fail Before They Start
If you have ever reached the third week of a project only to discover that:
- The client’s brand files do not exist in any format you can use,
- Their domain registrar login is buried in a personal email account from 2014,
- The “simple redesign” they described includes functionality you did not price,
- Nobody told you their legal team needs to approve every deliverable,
…then you already know the cost of skipping a structured onboarding process.
Most project failures are not caused by bad execution. They are caused by information gaps and misaligned expectations that crystallize into disputes, delays, and unpaid revisions six weeks into delivery.
A client onboarding system is the sequence of steps that transforms a signed contract into an organized, well-documented project with clear scope, collected assets, established communication rules, and a shared understanding of success.
This guide walks through each stage of a professional freelance onboarding workflow and explains how to build one that works for your specific practice.
The Complete Freelance Onboarding Workflow
A complete client onboarding system has eight sequential stages:
- Contract signed → deposit payment
- Welcome message sent
- Client intake form completed
- Project brief documented
- Assets and access collected
- Scope confirmed and milestones set
- Kickoff meeting held
- Project workspace activated
Each stage serves a specific purpose. Skipping any of them introduces a category of risk into your project.
Stage 1: Contract Signed and Deposit Collected
Nothing moves forward until two things are confirmed:
- The contract is digitally signed by both parties.
- The upfront deposit has cleared your bank account.
“I will sign it tomorrow” or “the payment is on the way” are not acceptable conditions to begin work. This is not about distrust—it is about establishing professional norms that protect both parties.
For contract structure, review the critical clauses every freelance contract needs before sending your agreement. Key clauses to confirm are signed:
- Defined scope of work (including explicit exclusions)
- Payment schedule and late fee policy
- Revision limits
- IP transfer conditions
- Kill fee / cancellation policy
For digital signatures, e-signature software eliminates the print-sign-scan cycle that delays project starts by two to five days.
Stage 2: The Welcome Sequence
Within 24 hours of receiving the signed contract and deposit, send a professional welcome message. This is not a casual “great, let’s get started” reply—it is a structured communication that sets the tone for the entire engagement.
What your welcome message should include:
- Acknowledgment of the signed contract and deposit receipt
- What happens next (the intake form they will receive)
- Your communication channels and expected response times
- The timeline for the kickoff meeting
- A direct link to their client portal, if you use one
The welcome message signals that you operate as a professional service business, not as a freelancer who responds to requests ad-hoc. Clients who receive a structured welcome sequence immediately feel more confident in the decision to hire you.
Stage 3: The Client Intake Form
The client intake form is the single most important document in your onboarding system. It is where you collect structured information from the client before you make any delivery decisions.
What a client intake form should cover:
Business context
- What does the business do and who is its primary customer?
- What does success look like 90 days after this project is delivered?
- Who is the primary decision-maker for approvals?
- Are there any other stakeholders or departments who must approve deliverables?
Project specifics
- What existing assets exist (logo files, brand guidelines, copy, photography)?
- Are there reference examples of work the client admires (competitor sites, preferred styles)?
- Are there any hard technical constraints or integration requirements?
- Is there a launch date that cannot move?
Communication preferences
- Preferred communication channel (email, Slack, client portal messaging)
- How quickly should they expect responses from you?
- How often should you send project status updates?
Access and tools
- What platforms and accounts will you need access to (hosting, CMS, analytics, social media)?
Use a tool like Typeform, Google Forms, or your client portal software’s built-in form feature. Keep the form focused—clients lose patience after 20 questions. For most projects, 12 to 18 targeted questions are sufficient.
Stage 4: The Project Brief
After reviewing the completed intake form, document a project brief—a single source of truth that captures:
- The project objective in one or two sentences
- The specific deliverables with quantities and formats
- The explicit scope exclusions (“not included in this engagement”)
- The client’s target audience and key constraints
- The agreed timeline with milestone dates
The project brief is not the contract. It is a working document that lives inside your project workspace and serves as the reference document when scope questions arise mid-project.
Send the project brief to the client for written confirmation before proceeding. “Yes, this looks right” in a reply email is sufficient. The goal is a shared, documented record of what “done” means.
Stage 5: Asset and Access Collection
This stage is where onboarding most commonly breaks down. Collecting assets and credentials from a client requires gentle but persistent follow-up.
Digital assets to collect:
- Logo in vector format (.svg, .ai, .eps)
- Brand guidelines document
- Approved copywriting or brand voice guidelines
- Existing photography or imagery with usage rights confirmed
- Any competitor or inspiration references
Account access to collect:
- Domain registrar credentials or DNS access (via delegate, not password sharing)
- Web hosting control panel
- CMS administrator login (create a dedicated account rather than using a shared admin password)
- Analytics platform access
- Social media accounts if within scope
How to handle credential sharing safely:
Never receive client passwords via email or chat. Use a secure password manager’s sharing link feature (1Password’s Psst links, Bitwarden Send) to request and receive credentials over encrypted one-time links. Create a dedicated vault entry for each client to keep credentials isolated and easily removable at the end of the engagement.
Give the client a clear deadline for asset delivery: “I need all assets and access credentials by [date] to begin work on [start date] as agreed.” Build this deadline into your project timeline buffer.
Stage 6: Scope Confirmation and Milestone Setup
Before the kickoff call, finalize your project milestone structure in your project management tool.
A basic milestone structure for a typical web project might look like:
- Discovery & Architecture → Client approval required
- Design (wireframes, visual design) → Client approval required
- Development (build, functional testing) → Internal milestone
- Client Review (staging review, feedback integration) → Client approval required
- Launch Preparation (DNS, analytics, pre-launch checklist) → Internal milestone
- Launch → Client sign-off required
- Post-launch support window → Defined period
Add each milestone to your project management tool with clear due dates, and share the project view with the client before the kickoff call so they arrive with context.
Stage 7: The Kickoff Meeting
The kickoff meeting is not a discovery call. Discovery already happened during the proposal phase. The kickoff is a structured alignment session after the contract is signed.
Kickoff agenda (30-45 minutes):
- (5 min) Confirm scope: Walk through the project brief together. Ask the client to confirm that the documented scope matches their expectation.
- (10 min) Review milestone timeline: Walk through each milestone date. Identify any fixed deadlines from the client’s side (board meetings, product launches, trade shows) that constrain the schedule.
- (5 min) Establish communication rules: What channel will you use for project updates? How quickly will each party respond? What happens if feedback is delayed past a milestone?
- (10 min) Introduce the project workspace: Show the client where to find deliverables, how to submit feedback, and where invoices live.
- (5 min) Define the approval process: Who specifically signs off on deliverables? What does “approved” mean (written confirmation in the portal, a verbal yes on a call)? How many revision rounds are included?
Use scheduling software to book the kickoff meeting during the welcome sequence so it does not require back-and-forth calendar negotiation.
Stage 8: Project Workspace Activation
After the kickoff meeting, activate the full project workspace:
- All milestone tasks created with due dates and assignees
- Client portal link shared and confirmed accessible
- Asset storage folder organized and shared
- Communication channel confirmed (project chat, not personal email)
- First progress update date set
Send the client one final onboarding confirmation message summarizing:
- The project portal link
- The milestone schedule
- Your communication cadence
- The next step they need to take (or the next thing they will hear from you)
At this point, onboarding is complete and delivery begins.
Common Onboarding Mistakes
Starting work before the contract is signed: This is the most common and most costly mistake. A client who has not signed a contract has made no legal or financial commitment. Protect yourself by making the signed contract and deposit a hard gate.
Skipping the intake form for “simple” projects: Even small projects benefit from a two-minute intake form. “A quick logo update” often turns into “also can you redo our brand palette while you are in there?”
Collecting assets informally: Assets requested over Slack get buried and forgotten. Use a structured asset checklist within your intake system so nothing is missed and the responsibility for delivery is clearly on the client.
No written scope confirmation: If you document the project brief but never ask the client to confirm it in writing, the brief has no authority when scope disputes arise.
Skipping the communication rules conversation: Unclear communication expectations create boundary violations. If you do not establish response time expectations at the kickoff, clients set their own—which is usually “immediately.”
The Minimum Viable Onboarding System
If you are starting from scratch, build this minimum system first:
| Step | Tool | Time Required |
|---|---|---|
| E-signature for contracts | Any e-signature software | 30 min setup |
| Client intake form | Google Forms or Typeform | 1 hour setup |
| Project brief template | Notion or Google Doc | 30 min setup |
| Project milestone tracker | Linear, Trello, or ClickUp | 1 hour setup |
| Client portal (optional) | Moxie free tier | 1-2 hour setup |
| Kickoff meeting agenda template | Document in your notes app | 20 min setup |
Total investment: approximately 4-5 hours to build a system that will save hundreds of hours across your entire freelance career.
Implementation Checklist
Before the kickoff:
- Contract signed by both parties
- Deposit payment confirmed cleared
- Welcome email sent within 24 hours
- Intake form sent and deadline set
- Project brief drafted from intake responses
- Project brief confirmed by client in writing
- All required assets received or deadline set for outstanding items
- All account access credentials received securely
- Milestone structure created in project management tool
- Kickoff meeting scheduled
During and after kickoff:
- Scope confirmed verbally and in writing
- Milestone timeline agreed
- Communication rules established
- Client portal or project link shared
- Approval process defined
- Post-kickoff summary email sent to client
When every box is checked, you are no longer starting a project—you are continuing a well-organized one.
WHAT WE APPRECIATED (PROS)
- ✓Eliminates the most common source of scope creep: unclear expectations from day one
- ✓Demonstrates professionalism that justifies higher rates and attracts better clients
- ✓Reduces repetitive administrative work through reusable templates and automated steps
- ✓Creates an audit trail that protects you in scope and payment disputes
DRAWBACKS & FRICTION (CONS)
- ✕Initial setup requires several hours to build your first version properly
- ✕Overly rigid onboarding can feel bureaucratic to smaller, informal clients
- ✕Onboarding friction must be calibrated to project size—a three-hour onboarding process is inappropriate for a two-day project
How to Build a Professional Freelance Client Onboarding System Rating Breakdown
All freelancers transitioning from informal project starts to a professional, repeatable system for every new client engagement.
A repeatable client onboarding system is the highest-leverage operational investment a freelancer can make. It eliminates the most common sources of project failure—unclear scope, missing assets, misaligned expectations—before work begins.
EVALUATION METRICS
Speed of setup, friction in daily operations, and intuitive mental model for non-enterprise users.
Utility of capabilities without unnecessary enterprise bloat that slows down solo execution.
Return on investment for a single seat, clear billing tiers, and fair feature gates.
Uptime track record, offline resilience, and friction-free portable data export.
Specific suitability for client collaboration, single-seat economics, and lean overhead.
Frequently Asked Questions
How long should a freelance client onboarding process take?+
For a typical project (one to three month engagement), onboarding should take between three and seven business days from signed contract to project kickoff. This includes time for the client to complete an intake form, gather assets, set up access, and attend a kickoff call. For very small projects, compress or skip non-essential steps.
Should I send the contract before or after scoping the project?+
Scope first, then contract. A strong contract is built on top of a detailed statement of work. Do not send a generic contract and then scope the project inside it—the scope is what makes the contract enforceable. Once you have documented the scope in a proposal, the contract formalizes and protects it.
What is the single most important element of a client onboarding system?+
The client intake form. It is the highest-leverage step because it forces the client to articulate their goals, constraints, assets, and expectations in writing before you invest any time in delivery. Clients who complete a thorough intake form almost always become better, clearer collaborators.

Freelance Tool Guide Team
The editorial team behind Freelance Tool Guide, independently researching and testing software for freelancers and small teams.
More Independent Software Analyses
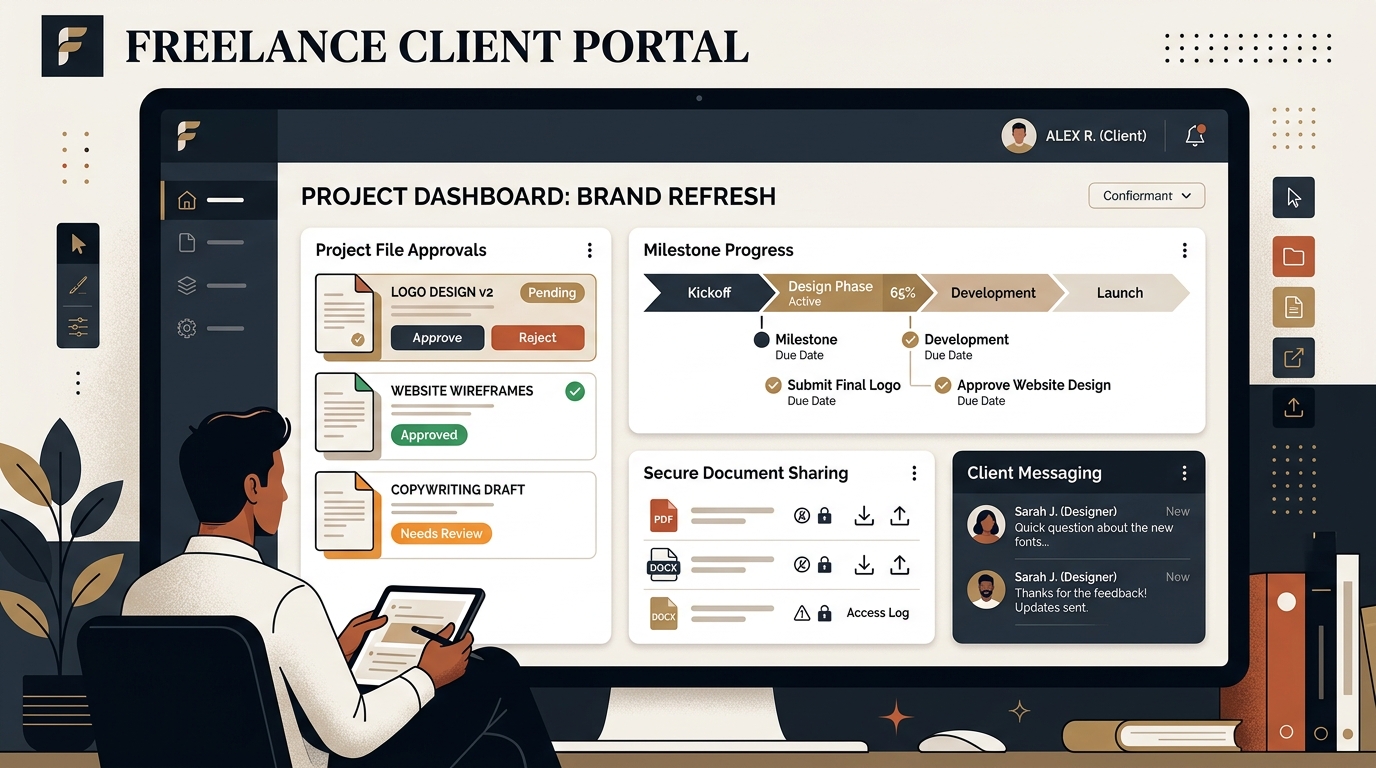
Best Client Portal Software for Freelancers in 2026
Centralize client files, deliverables, messaging, and approvals. We evaluate the best client portal software for solo freelancers and boutique studios.
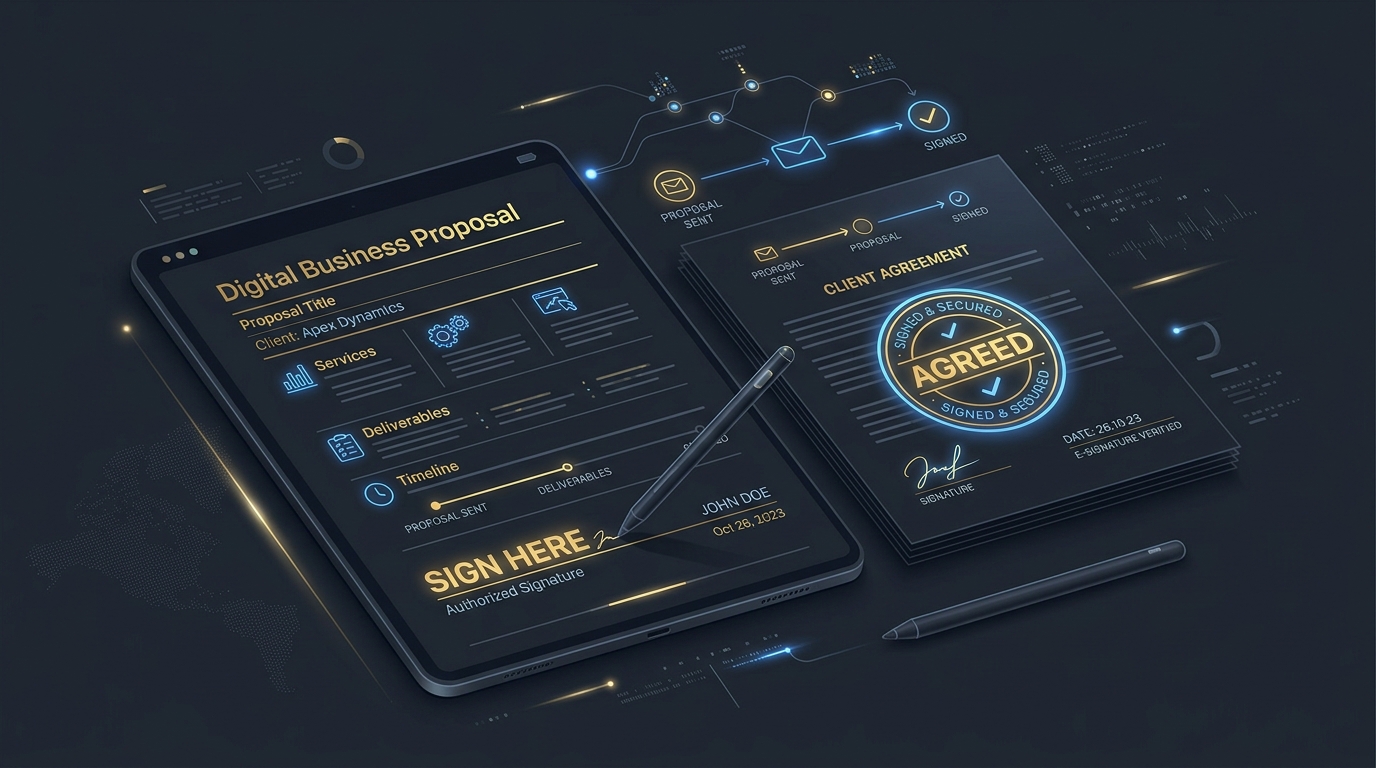
Best Proposal Software for Freelancers: Free & Paid Options
Win bigger client contracts with less friction. We test the best proposal software and e-signature tools for freelancers, comparing speed, analytics, and templates.

Best E-Signature Software for Freelancers in 2026
Get contracts, NDAs, and scopes signed fast. We compare the best e-signature software, audit trails, and free DocuSign alternatives for freelancers.